 Combine a Crocodile with a Car to Create an Exotic Crocomobile
Tutorial Resources
- Crocodile1 – SXC
- Crocodile2 – charadestock
- Crocodile3 – frostdragon64
- Old car – achatinastock
- Background – SXC
- Bird – rml-stock
- sign1 – discordia-stock
- Sign2 – ecathe
Step 1
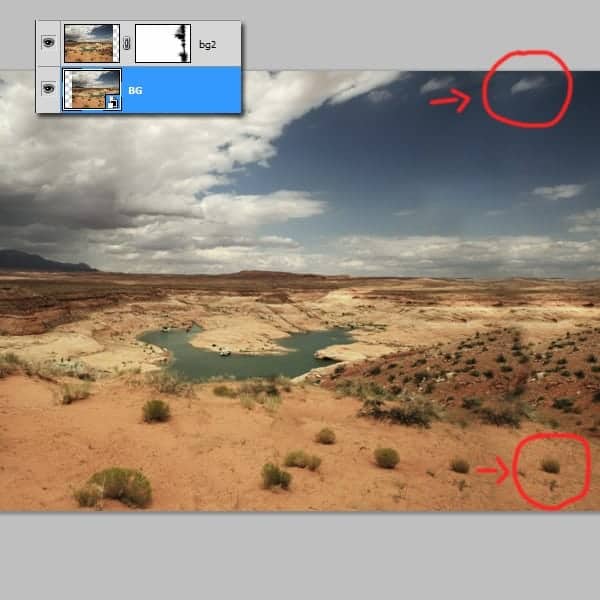
Open the background image and place it on the right. Because the image in not wide enough we need to duplicate it and complete the empty space with the same photography . Duplicate the background layer and place it on the left. Create a clipping mask and erase the edge of the duplicated layer.
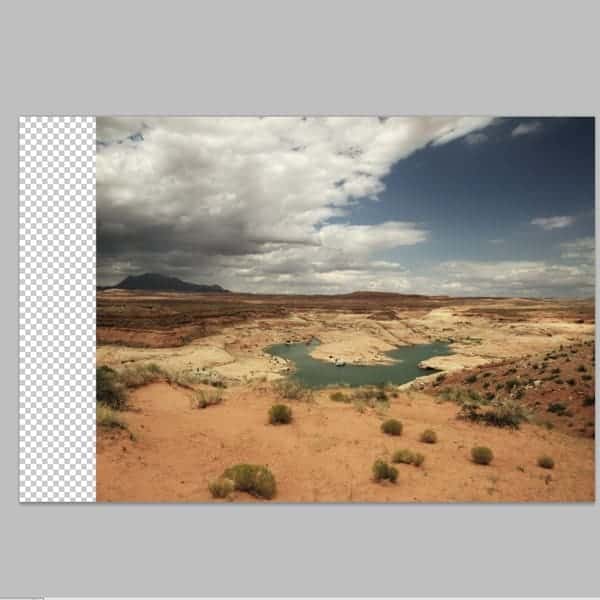 Now you will see that some parts are repeating themselves , such as clouds
Step 2
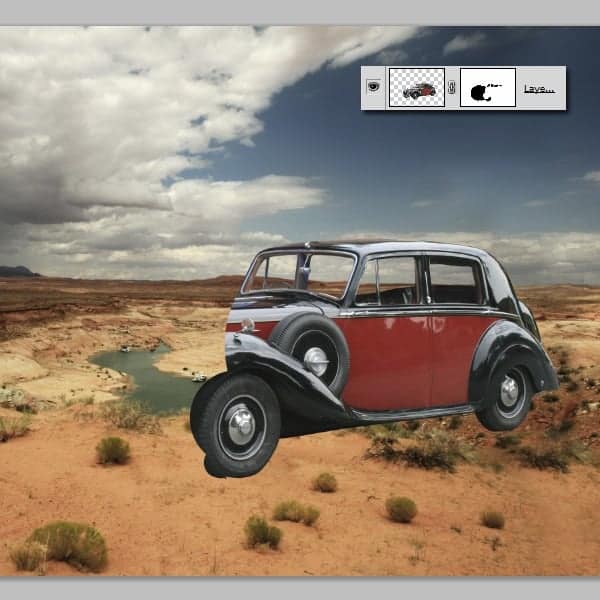
In this step we will cut out the car using the pen tool and place it in the desert. Remember cu cut out the windows also .
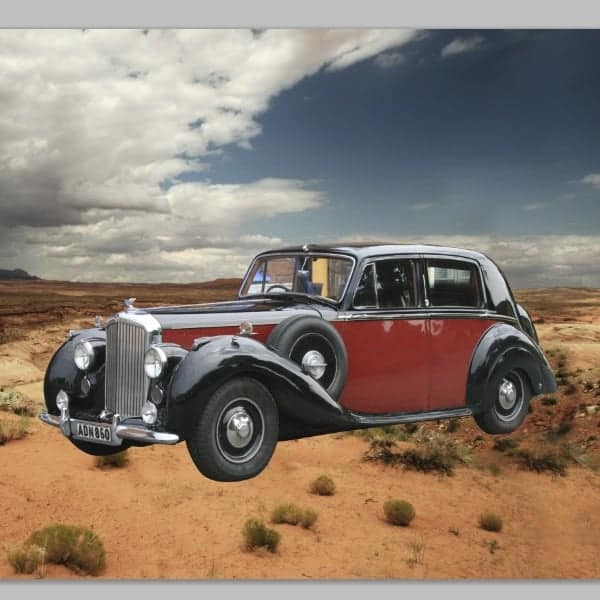
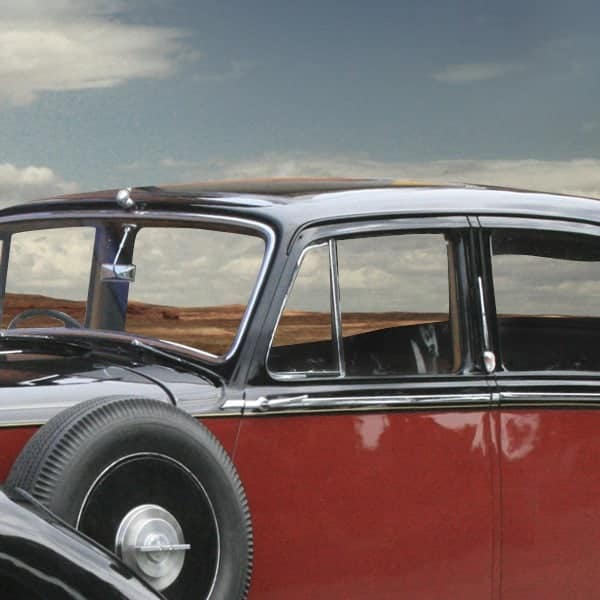
Erase the front part of the car using a brush on the layer’s mask. We don’t need this part because it will be replaced with the crocodile. Always use a mask when you want to erase things in photoshop because you never know if you want it back.
Create a new layer under the car an, using a basic brush , paint the windows white. Set the opacity to about 15-20%.
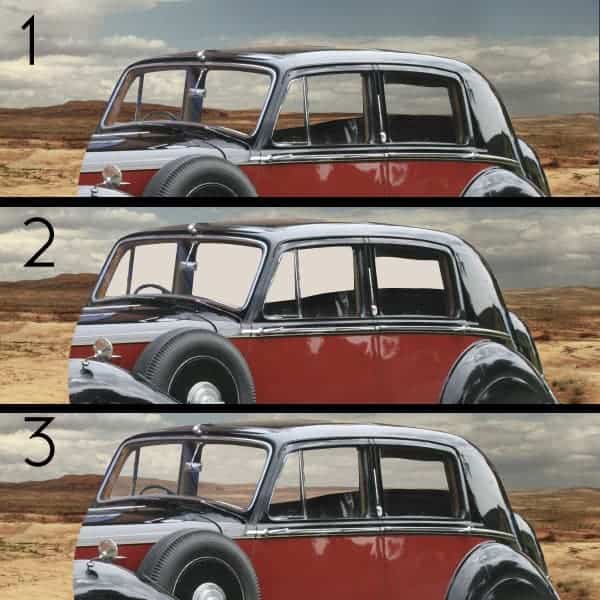
Step 3
Let’s create the car’s shadow . Create a new layer. Use your imagination to see how this will look. Use the pen tool for this and fill the path with black. Go Filters-Blur-Gaussian Blur and set it to 2,5. Now the the layer’s opacity to 45%.
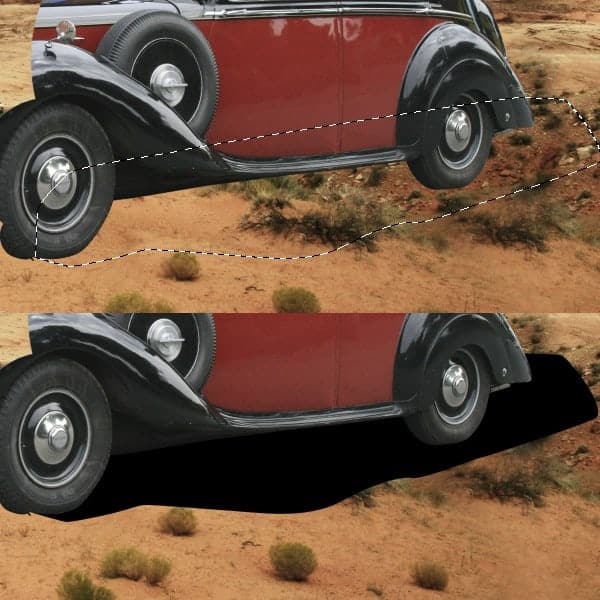
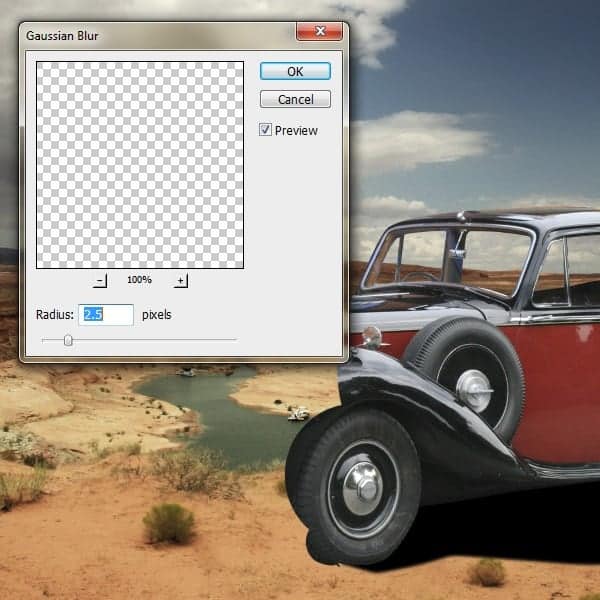
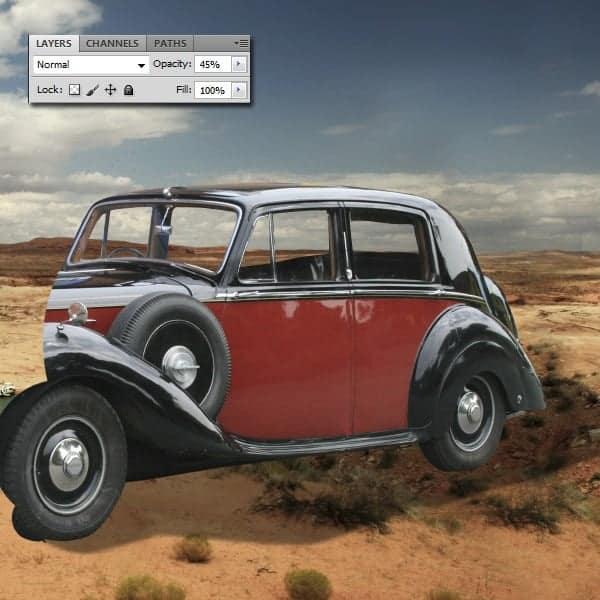
The car needs to have a small and darker shadow, so on a new layer, using a basic brush add a small shadow. Use the image below for guidance.
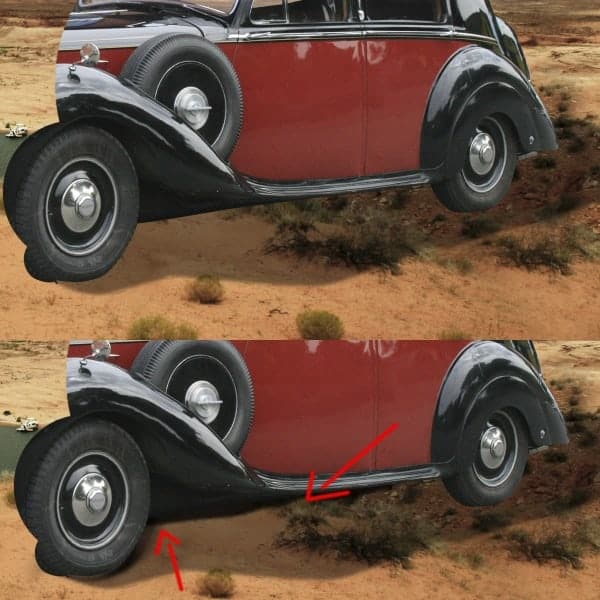
Step 4
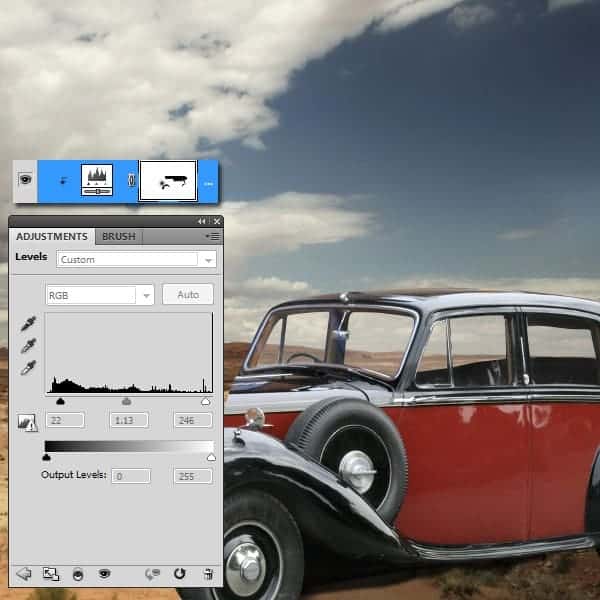
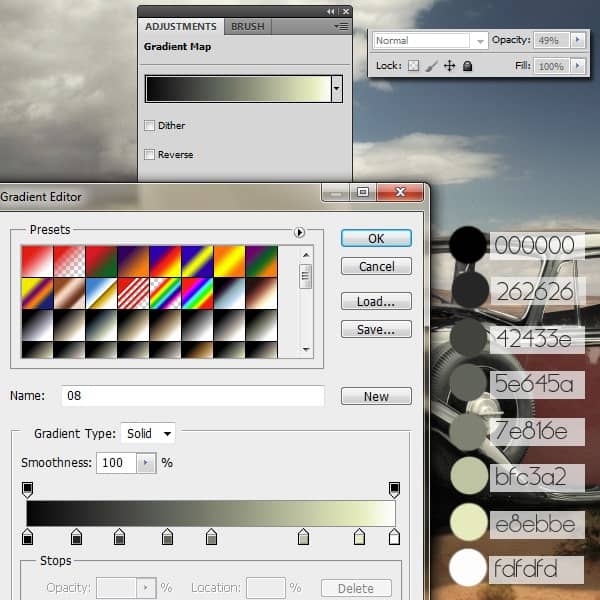
In step 4 you will need to create a few clipping masks for the adjustment layers so we will adapt the car’s colors to the desert. Go to Adjustment Layers-Levels. Make the presets as you see below, and remember that this is a clipping mask, so it only affects the car ( to create a clipping mask you need to press the alt key and click between the layers you want to clip together.)
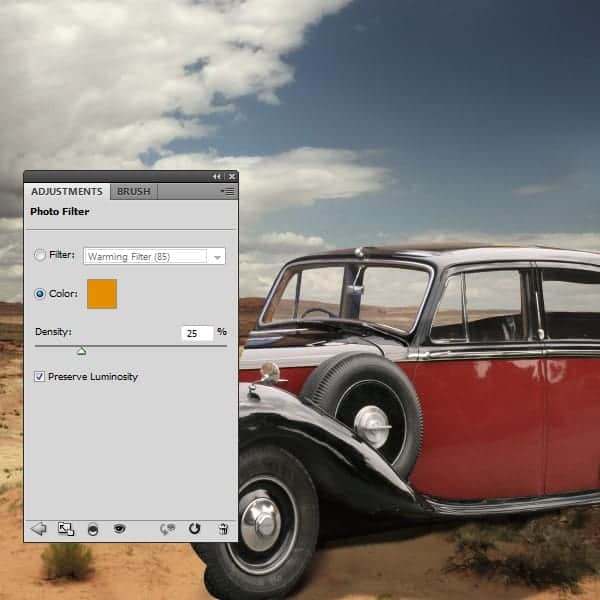
Adjustment Layers-Photo Filter Adjustment Layers- Gradient mask . Both layers are clipping masks.
Step 5
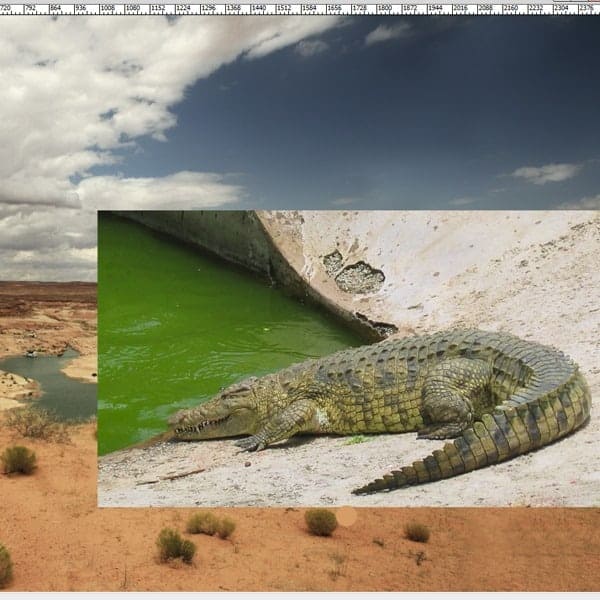
Open the first crocodile photo. We will use the tail from this crocodile. So cut out it and place it at the back side of the car as you see in the image below.
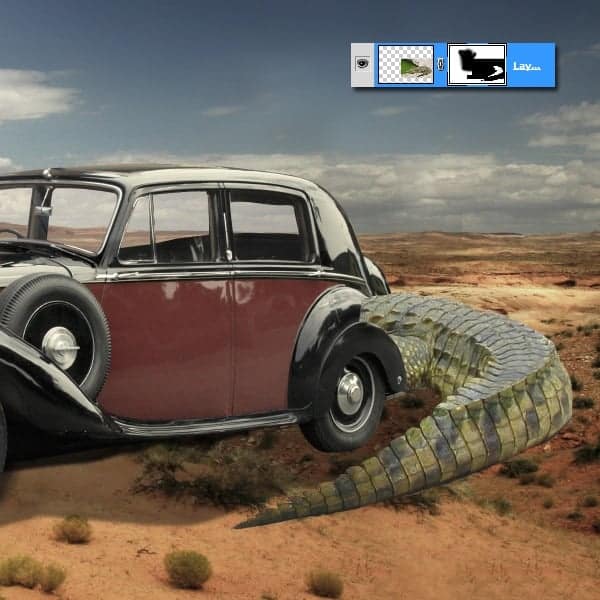
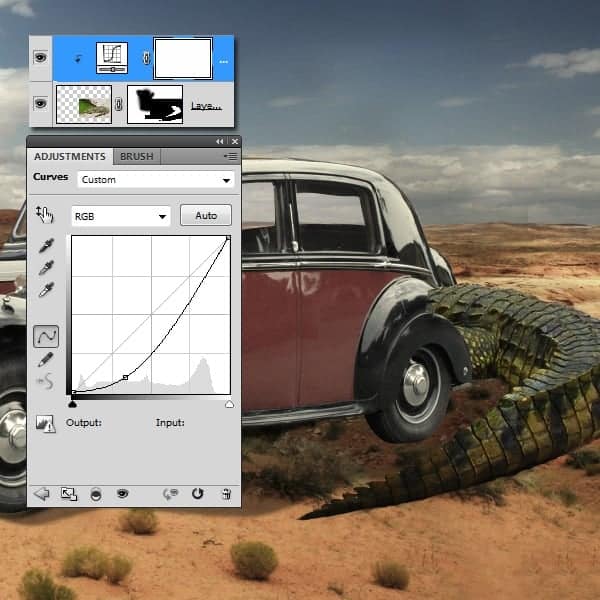
Use a clipping mask to add to make the tail look darker, so go to Adjustment Layers-Curves. You have the presets in the image.
We need to add some shadow to the tail so using the pen tool create a shape that resembles to the tail’s edge. Fill the path with black and the opacity to 70%.
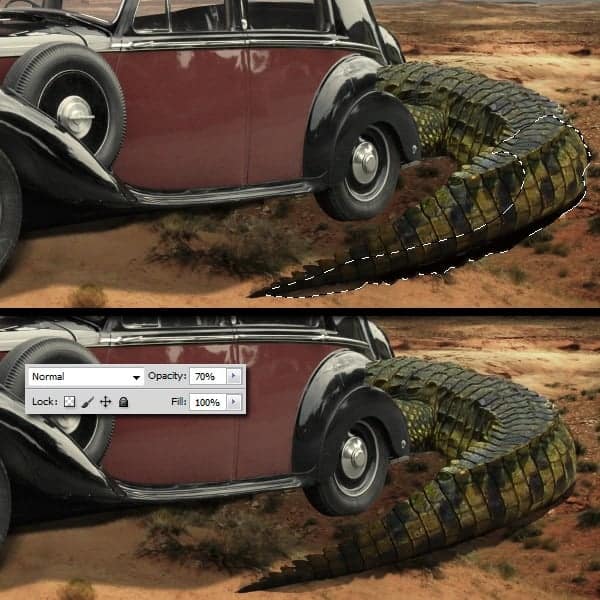
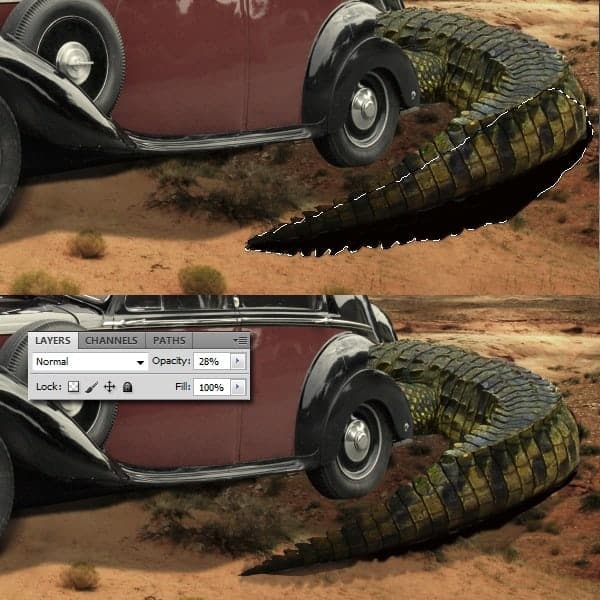
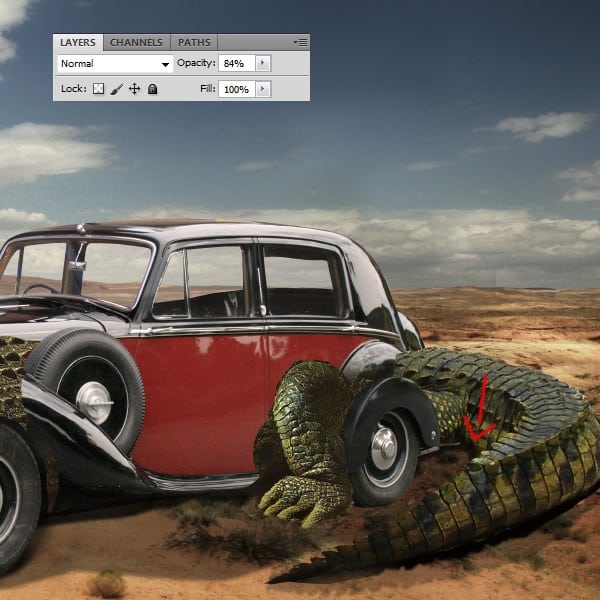
Using the same techniques as you did on the step before this , create a bigger shadow. Set the opacity to 28%. Remember that the tail casts a shadow in the inner corner so create a shadow there to. Set the layer’s opacity to 84%.
No comments:
Post a Comment